
- Choose the art - Art can range from old postcards, calendar pictures, photos, original or replica paintings etc.
- Surround your art or pictures - add a nice frame or mat to the picture. Contrasting mats to the wall have a greater impact.
- Find the center of the wall - the center of your first picture should be eye level or slightly above (approximately 150mm from the floor).
- Choose the layout - this only applies if you have more than one piece you would like to hang. Trace the sizes and shapes of the frames on brown paper or newspaper, now stick them to the wall as you would like them to hang with some masking tape. It is advisable to leave these on the wall for a day or two before you hand the actual art.
- Bigger is often better, one nicely sized piece of art can sometimes have a bigger impact than lots of art groupings together.
- Once you are sure that you have the right layout, start hammering!
- Remember: The smaller the nails you use, the easier to remove them and fill up the holes at a later stage.
Styles:
- Vertical - For small walls or in vertical lines on a bigger wall.
 |
| Source: Xc3.xanga.com |
- Horisontal - Works great on long walls, I found the following horisontal alternative:
 |
| Source: TheCreativeMama |
- Symmetry - gives a formal feel to any room
- Clustered - I just love this, all is square and gives a great formal art display.
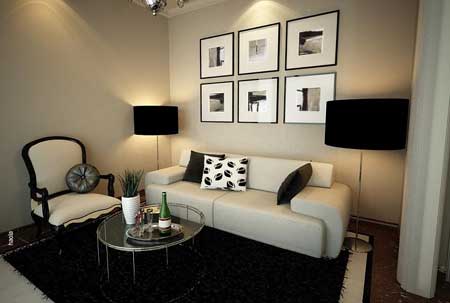 |
| Source: Home-Dzine |
 |
| Source: 4.bp |
- Art shelves - a new and modern way to display art
 |
| Source: Alldrin Photography |
- Staircases - this works better in a "stepped up" format.
 |
| Source: AFP interiors |
No comments:
Post a Comment